Step by Step on How to create a WordPress Website ?
WordPress is one of the most popular content management systems available today, used by millions of websites around the world. Creating a website with WordPress is easier than ever before, thanks to web hosting services like bluehillhosting.com. In this article, we will take you through the step-by-step process of creating a WordPress website using bluehillhosting.com web hosting.
Step 1: Choose a Domain Name
The first step to creating your WordPress website is to choose a domain name. Your domain name is the address that people will use to access your website. It should be relevant to your business or brand and easy to remember. If you already have a domain name, you can skip this step. If not, you can purchase one from bluehillhosting.com.
Step 2: Choose a Web Hosting Plan
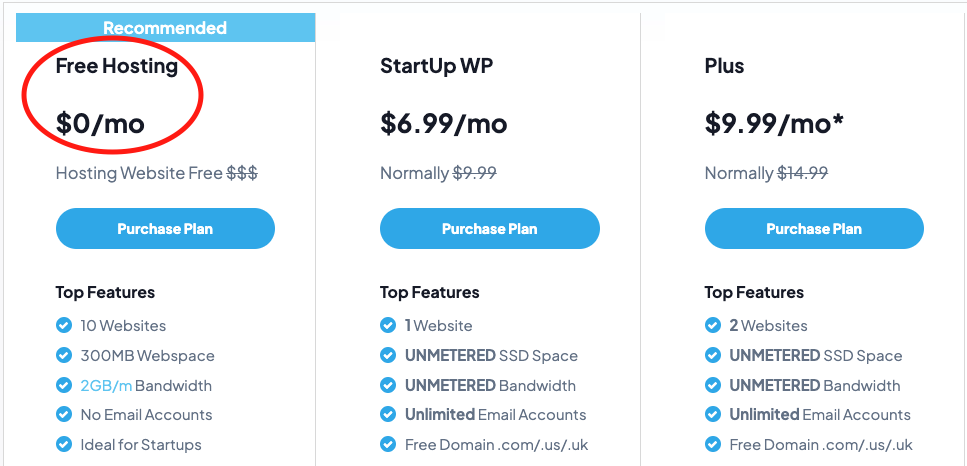
Once you have chosen your domain name, you need to choose a web hosting plan that suits your needs. Bluehillhosting.com offers a variety of hosting plans, including shared hosting, VPS hosting, and dedicated hosting. For most new websites, shared hosting is a good option because it is affordable and provides all the resources you need to get started.
Step 3: Install WordPress
Once you have signed up for a web hosting plan, you can install WordPress on your website. Bluehillhosting.com offers a one-click installation process that makes it easy to get started with WordPress. Log in to your hosting account, navigate to the control panel, and click on the WordPress icon. Follow the prompts to complete the installation.
Step 4: Choose a Theme
Once you have installed WordPress, you need to choose a theme for your website. A theme is a pre-designed template that determines the look and feel of your website. WordPress offers thousands of free and premium themes to choose from. You can browse through the themes and choose one that suits your needs.
Step 5: Install Plugins
Plugins are small software programs that add additional functionality to your WordPress website. Some plugins can help with search engine optimization, while others can add social media integration or e-commerce functionality. WordPress offers thousands of free and premium plugins to choose from. You can install and activate plugins from the WordPress dashboard.
Step 6: Customize Your Website
Once you have installed your theme and plugins, you can start customizing your website. WordPress offers a user-friendly dashboard that allows you to easily add pages, posts, and media. You can also customize the appearance of your website by changing the color scheme, fonts, and layout.
Step 7: Add Content
With your website set up and customized, it’s time to start adding content. The content on your website should be informative, engaging, and relevant to your target audience. You can add pages and posts to your website, as well as images and videos. Make sure to optimize your content for search engines by using relevant keywords and meta descriptions.
Step 8: Launch Your Website
Once you have added your content, it’s time to launch your website. Make sure to test your website thoroughly to ensure that it is functioning properly. Check all of the links and forms to make sure they are working correctly. Once you are satisfied with your website, you can share it with the world.
In conclusion, creating a WordPress website with bluehillhosting.com is a straightforward process that anyone can do. By following these eight steps, you can create a professional-looking website that will help you achieve your business or personal goals. With the help of WordPress and bluehillhosting.com, you can launch your website in no time and start reaching your audience.